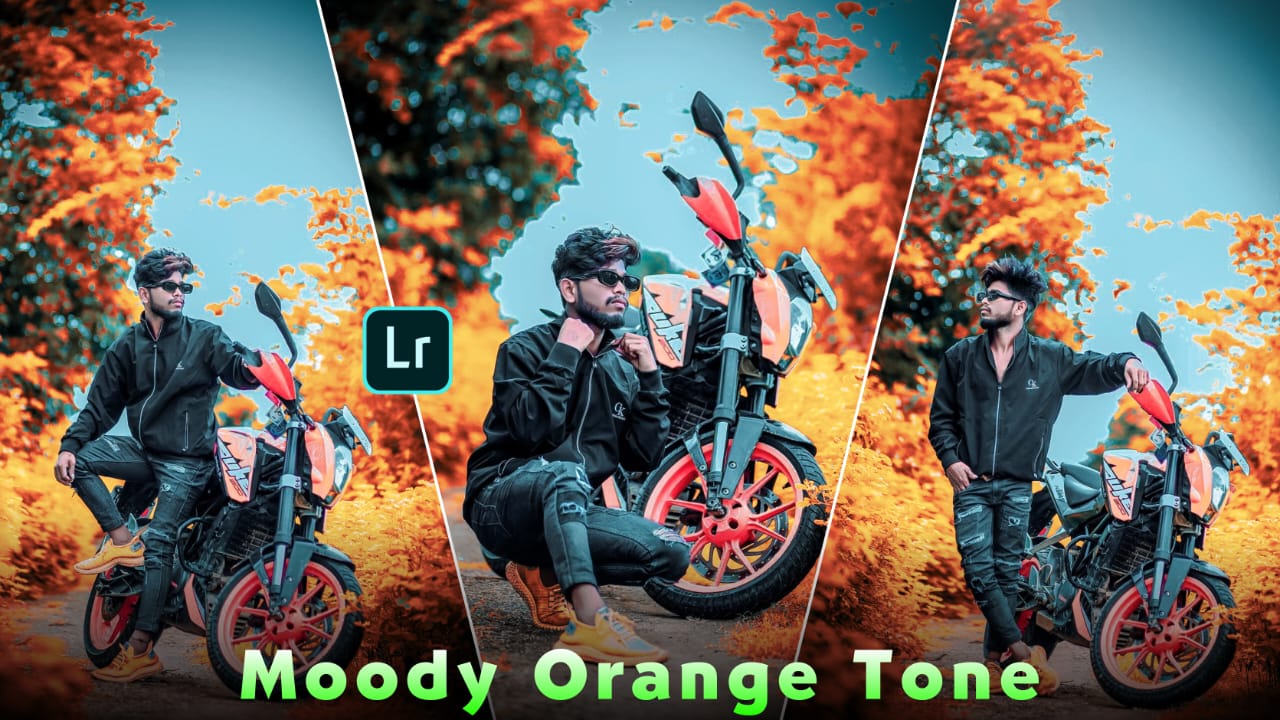
Color grading photos can often seem like a complex process for many. However, using Lightroom presets makes this task highly straightforward and time-efficient. In this article, we will discuss the Cinematic Blue Lightroom Preset. Below is a step-by-step guide on how to adjust your photo’s colors and lighting directly on your smartphone using this specific preset.
What is a Preset?
A preset is a pre-configured formula or setting of color and lighting values. If a normal photo has improper lighting or unbalanced colors, applying this setting fixes the issues quickly. Using a preset automatically adjusts the image’s exposure, contrast, and saturation, which saves the time required for manual editing.
Why Use the Cinematic Blue Preset?
- This preset adds a specific blue color tone to the image.
- It works effectively for balancing colors in night photography, cloudy day shots, or low-light environments.
- It reduces unnecessary warm (yellow) tones in the photo, bringing in a cooler and cleaner look.
Software and Mobile Requirements
To perform this task, you need the Adobe Lightroom mobile application installed on your device. The required mobile configuration to run this app smoothly is provided in the table below:
| Operating System | Version Required | Required RAM | Storage Needed |
| Android Mobile | Android 4.1 or higher | Minimum 1 GB | At least 8 GB free space |
| Apple iOS (iPhone) | iOS 9 or higher | Any iPhone (4s or newer) | Standard storage |
Step-by-Step Editing Process
Even if you have never edited a photo before, you can complete the process by following the exact instructions below:
1. Collect the File
First, save the Cinematic Blue Preset file to your phone’s gallery from the link provided at the bottom of this article. Next, install the Lightroom app from your phone’s app store and open it.
2. Add Photos to Lightroom
- Open the Lightroom app and look for the plus (+) icon at the bottom of the screen. Click on it.
- Select both the preset image and your original unedited photo from your gallery to bring them into the app.
- Click on the ‘All Photos’ option at the top of the app to view your selected files.
3. Copy the Preset Settings
- First, open the preset image from the ‘All Photos’ section.
- Click on the three dots (…) located at the top right corner of the screen.
- A menu will appear. Select the “Copy Settings” option and tap the checkmark icon at the top. This action copies the color data of the preset.
4. Paste Settings on Your Photo
- Press the back button and open your original photo.
- Click on the same three dots (…) at the top right corner.
- Select “Paste Settings” from the menu list.
- The color grading process is now complete, and the blue tone will be applied to your picture.
Basic Lightroom Tools Overview
If you need to make further adjustments after applying the preset, you can use the basic tools located in the bottom panel of the app:
- Light Tool: You can increase or decrease the overall brightness of the photo by adjusting the Exposure and Contrast options here.
- Color Tool: You can change the photo’s temperature using the Temp slider. This is useful if you want to increase or decrease the blue intensity.
- Mix Tool: This tool allows you to change one specific color without affecting the others. For example, you can independently darken or lighten the color of the leaves or the sky.

How to Save the Photo to Your Phone?
Once the editing is finished, follow these instructions to save the image to your gallery:
1. Click on the Share icon located at the top right side of the screen.
2. A list will appear; click on the “Save to device” option.
The photo will be securely saved to your phone’s internal storage within a few seconds.
By following this method, you can easily apply any Lightroom preset to your photos. If you have any questions regarding the process, feel free to leave a comment below.